
Relation types are located in the menu under:
Menu/Application-Dictionary/Relation Type (AD_RelationType)
Clicking on the menu item will open a list of all available relation types. Relation types can be divided into two groups based on the checkbox IsTableRecordIdTarget which can be checked or not checked.

Example of how relations appear on WebUI:

IsTableRecordIdTarget is checkedIn this case you need to define only one relation, the target relation.

In the field ValidationType, pick T_Tabellenvalidierung.

In the field AD_Window_ID, set the target window.

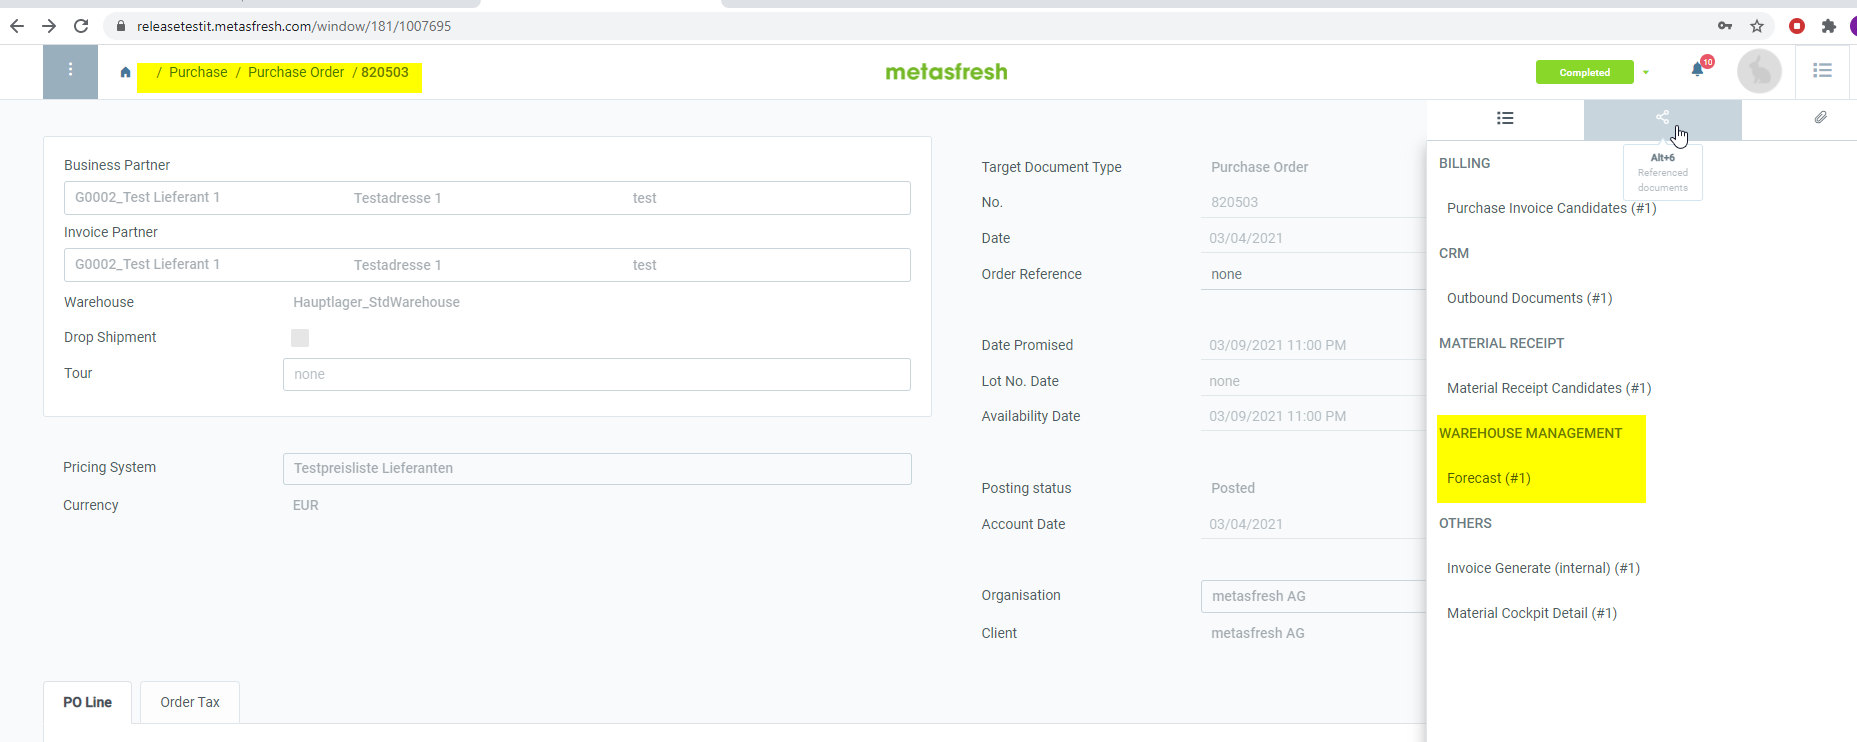
As a result, on the WebUI, the application will look for the reference in the source window and show it in the sidebar:

…and when clicking on the reference this will take you to the respective target window:

In the example above the source page (e.g., C_Invoice) is looking for any entry in the target table which has the
table_id = (select ad_table_id from ad_table where tablename = 'C_Invoice')
record_id = @currentRecord@The query executed behind the scene is:
 select *
 from Fact_Acct_Transactions_View
 where ad_table_id = (select ad_table_id from ad_table where tablename = 'C_Invoice')
 AND record_id = 1002044;
IsTableRecordIdTarget is NOT checkedThis relation type is needed when we want to display relations between entities which are not directly related.

Note: We recommend using the pattern
source_table -> target_table.
isDirected to ensure that the direction of the relation is from source to target.
Note: If you also want the reverse relation (target to source) you will need to define a separate relation type for it.
Note: Should be defined before continuing to step 2.
Note: Should be defined before continuing to step 3.
Note: We recommend including the source/target words in the name to make the purpose of the reference clear.
In the field ValidationType, pick T_Tabellenvalidierung.
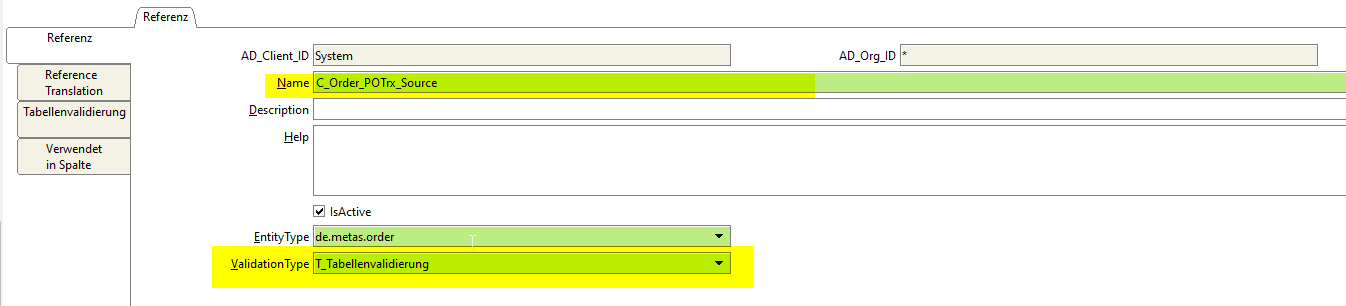
C_Order.C_Order_ID.IsSOTrx = 'N' (i.e. should be a purchase order).Note: This is not mandatory, but recommended.

Note: We recommend including the source/target words in the name to make the purpose of the reference clear.
In the field ValidationType, pick T_Tabellenvalidierung.
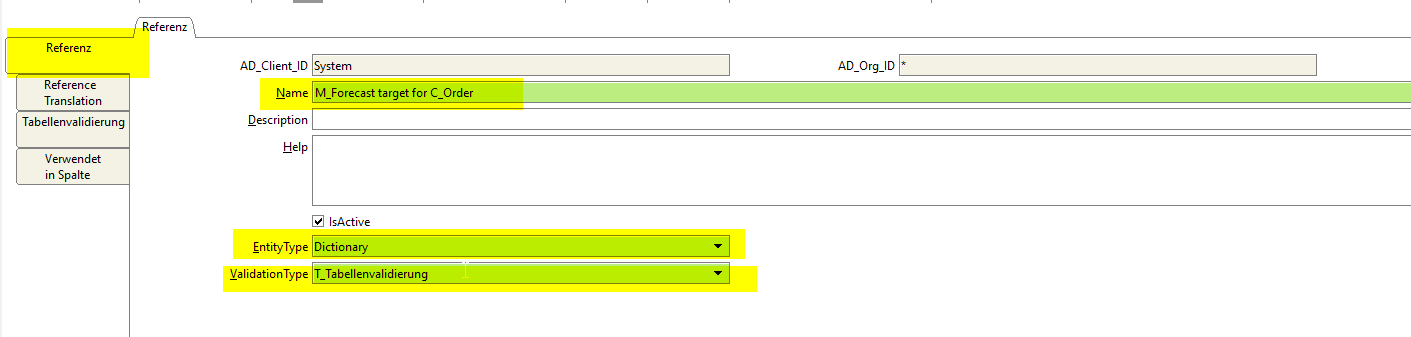
M_Forecast.M_Forecast_ID.Note: This is not mandatory, but recommended.
In the field WhereClause, define a logic to display elements from the AD_Table_ID (target) based on the AD_Key from the source reference (see example above C_Order_ID).

WhereClause of the target referenceM_Forecast table. If they exist they shall be set as AD_Table_ID in the target reference.C_Order.f.M_Forecast_ID = M_Forecast.M_Forecast_ID => Target_Table_Name.Target_Keyo.C_Order_ID = @C_Order_ID / -1@ => Source_KEY
How it appears on WebUI:
Source Window:
Target Window:
