Wonach suchst Du?
What are you looking for?

How do I create a bill of materials (BOM)?

Steps

Create a BOM

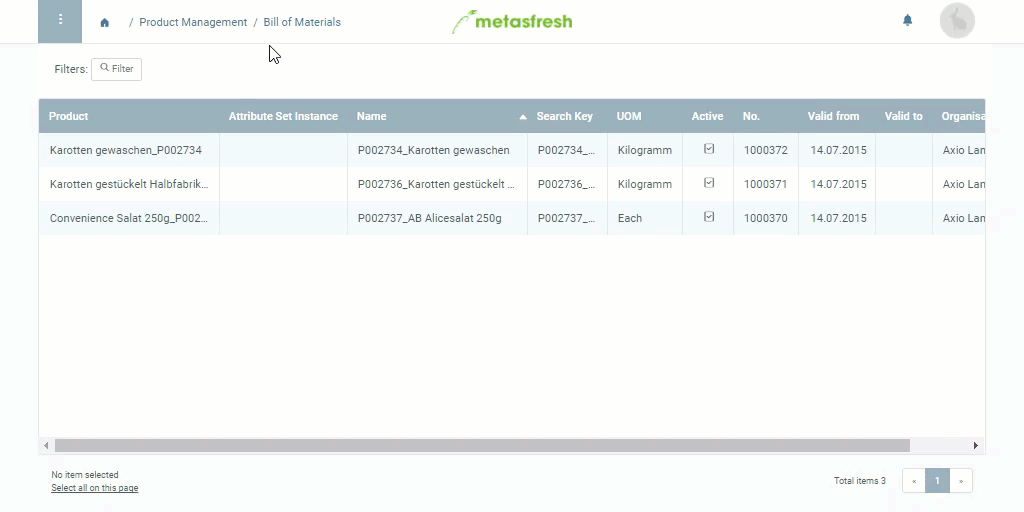
  1. Open “Bill of Materials” from the menu.
  2. Create a new BOM entry.
  3. In the field Product, enter a part of the name or number of the product for which you want to create a BOM and click on the matching result in the drop-down list, e.g., “Guitar”.
  4. Make sure the Search Key of the BOM is identical to the search key of the product.
  5. In the field BOM Use, pick Manufacturing.

    Note: For commercial BOMs for finished products whose components are not manufactured but shall be listed individually in the order, pick Phantom.

  6. Optional: In the field No., enter a custom document number.
  7. Optional: Set a Valid from date.

    Note: If this date lies in the past, the BOM will be effective immediately. If it lies in the future, it will only apply from that date.

  8. Optional: Pick a Serial No. Sequence. To do so, enter a part of the document sequence name and click on the matching result in the drop-down list.

    Note: The product category must be linked to an Attribute Set where the attribute serial number is defined.

Special Case: Spare Parts BOM (for repair service returns)

Tip:
Clone the entry of a manufacturing BOM and then remove all unnecessary components from the record tab “Components of the BOM & Formula”. Just make sure that the Search Keys are different when cloning.

Add BOM components

  1. Go to the record tab “Components of the BOM & Formula” at the bottom of the page and click "Add new". An overlay window opens up.
  2. In the field Product, enter a part of the name or number of the product you want to add as a component to the BOM and click on the matching result in the drop-down list, e.g., “Body” or “Strings”.
  3. Pick a Component Type, e.g., Component.

    Note: The Co-Product is a by-product from the production of the actual finished product and can be added to stock as a finished product itself.

  4. In the field Qty, enter a quantity. To record the quantity in percent, tick the checkbox Is % and enter the amount in the field % Qty.

    Note: A BOM contains the specifications for a single finished product. When the BOM is used, the quantity specified here will be multiplied by the quantity ordered in each case.

  5. Pick an Issue Method how to deduct the consumed materials, e.g., Issue only for what was received or Backflush.

    Note 1: For automatic issuing, i.e. deducting only the quantity of materials actually consumed, pick “Issue only for what was received”.

    Note 2: To deduct the quantity of material per BOM component individually, pick “Backflush”.

  6. Click “Done” to close the overlay window and add the component to the list.

    Note: You can add any number of components to a BOM.

Note:
You can also view the individual BOM components in detail under “Components of the BOM & Formula” in the menu.

Verify BOM

To obtain a valid BOM that can be used in manufacturing it has to be verified first.

  1. Start the action “Verify BOM”. An overlay window opens up.
  2. Pick a Product Category.
  3. Click “Start” to confirm and close the overlay window.
  4. To check the verification status of the BOM product, jump into the field Product of the entry and confirm that the checkbox Verified is ticked off: Verified='Y'.

    Note:
    After any change made to the BOM it must be verified again!

Example

GIF: Create BOM


View source file on GitHub.com