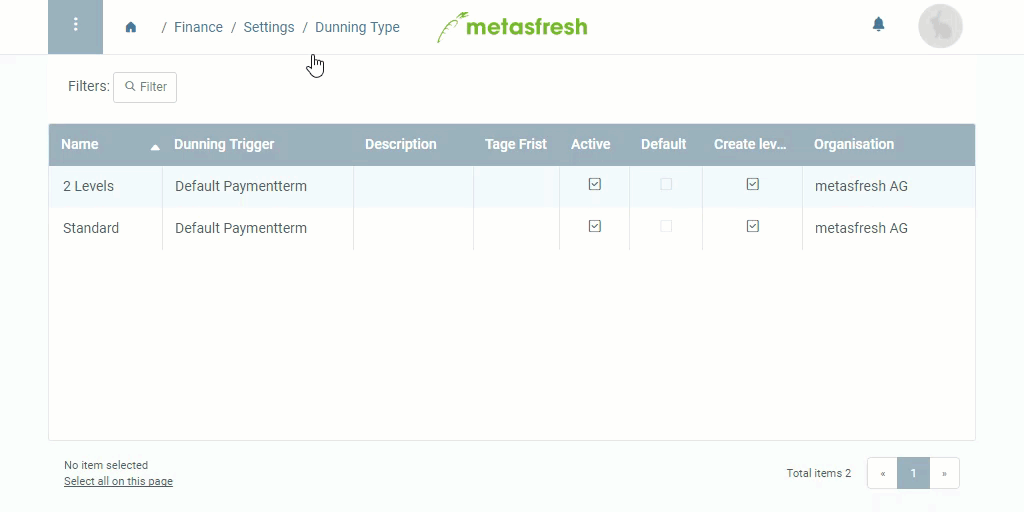
Overview
The dunning type determines the moment when a dunning run starts and how many levels it goes through.
Steps
- Open “Dunning Type” from the menu.
- Add a new dunning type.
- Give the dunning type a Name.
Add Dunning Levels
| Important note! |
| For a dunning type to take effect, it requires at least one level! |
- Go to the record tab “Level” at the bottom of the page and click
 . An overlay window opens up.
- Give the level a Name.
- Enter a Print Text which will appear in the subject line of the dunning letter.
- Enter the number of Days after due date of an invoice until the dunning procedure is initiated.
- Enter the number of Days between dunning.
- In the text box Note Header, enter a text that shall appear at the beginning of the dunning letter.
- In the text box Note, enter a text that shall appear at the end of the dunning letter.
- Click “Done” to close the overlay window and add the dunning level to the list.
Note: Repeat steps 1 to 8 in order to add further dunning levels.
Next Steps
Example
View source file on GitHub.com